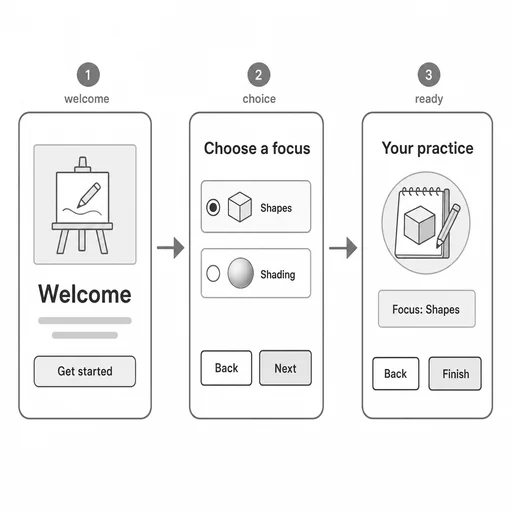
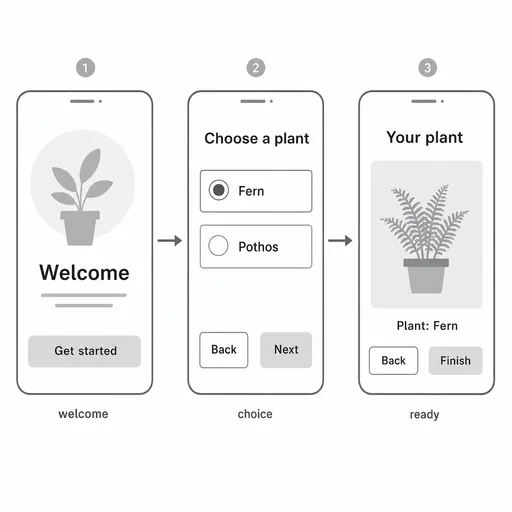
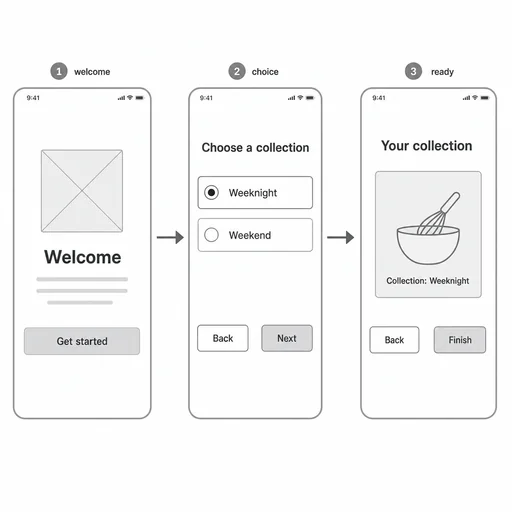
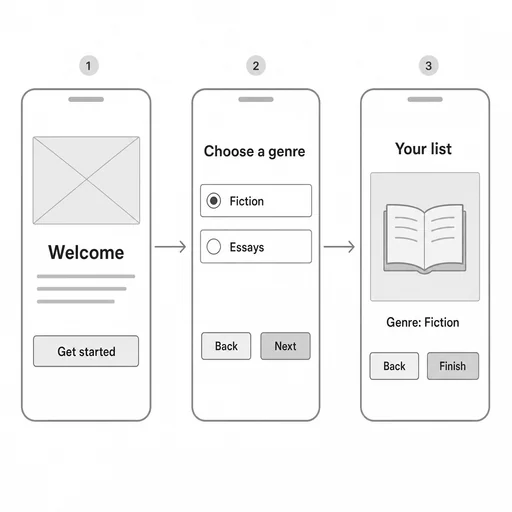
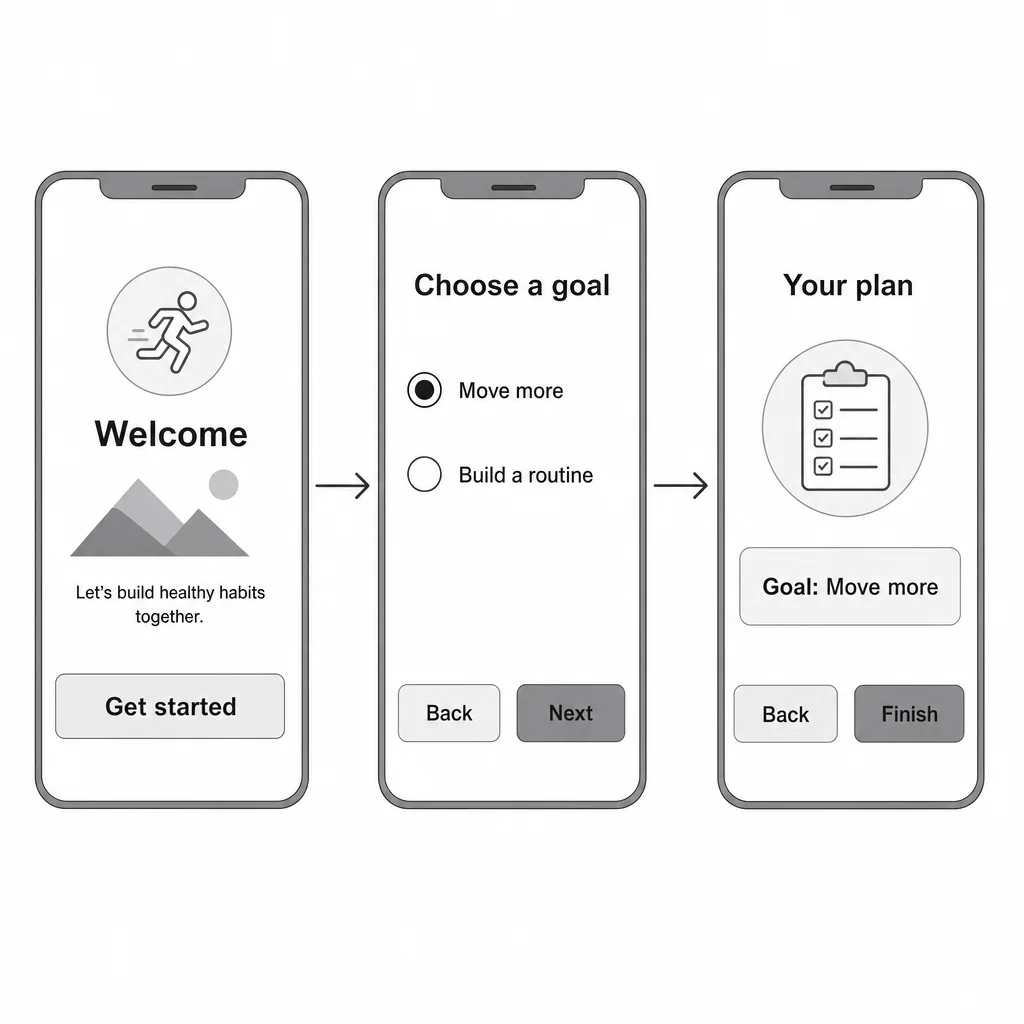
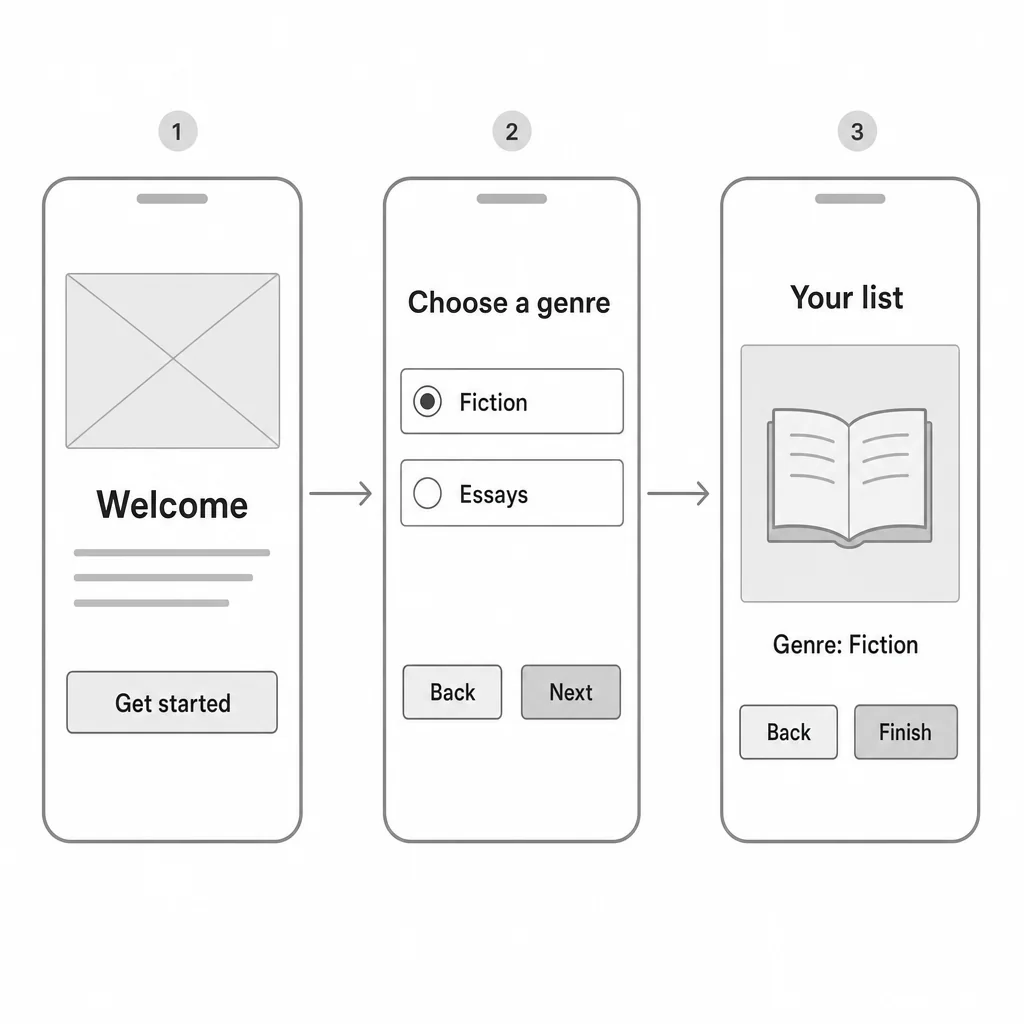
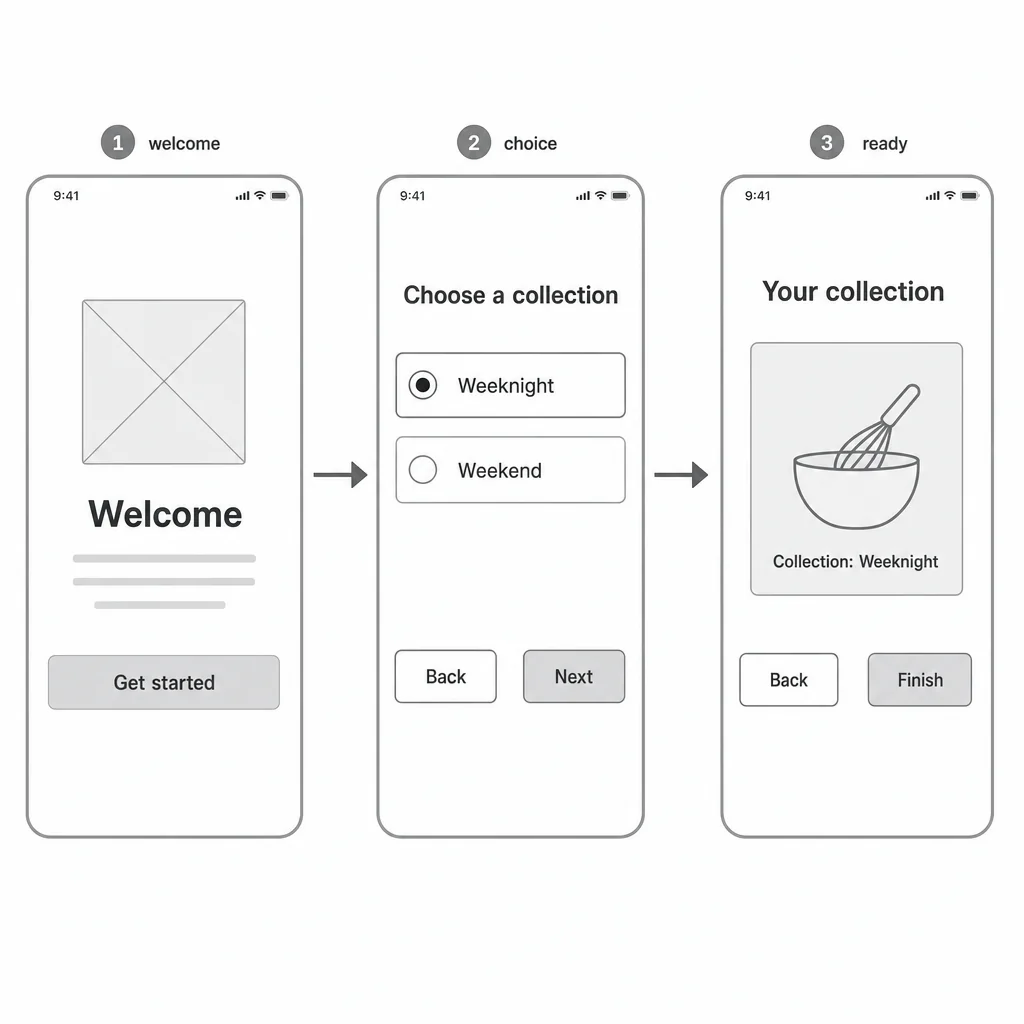
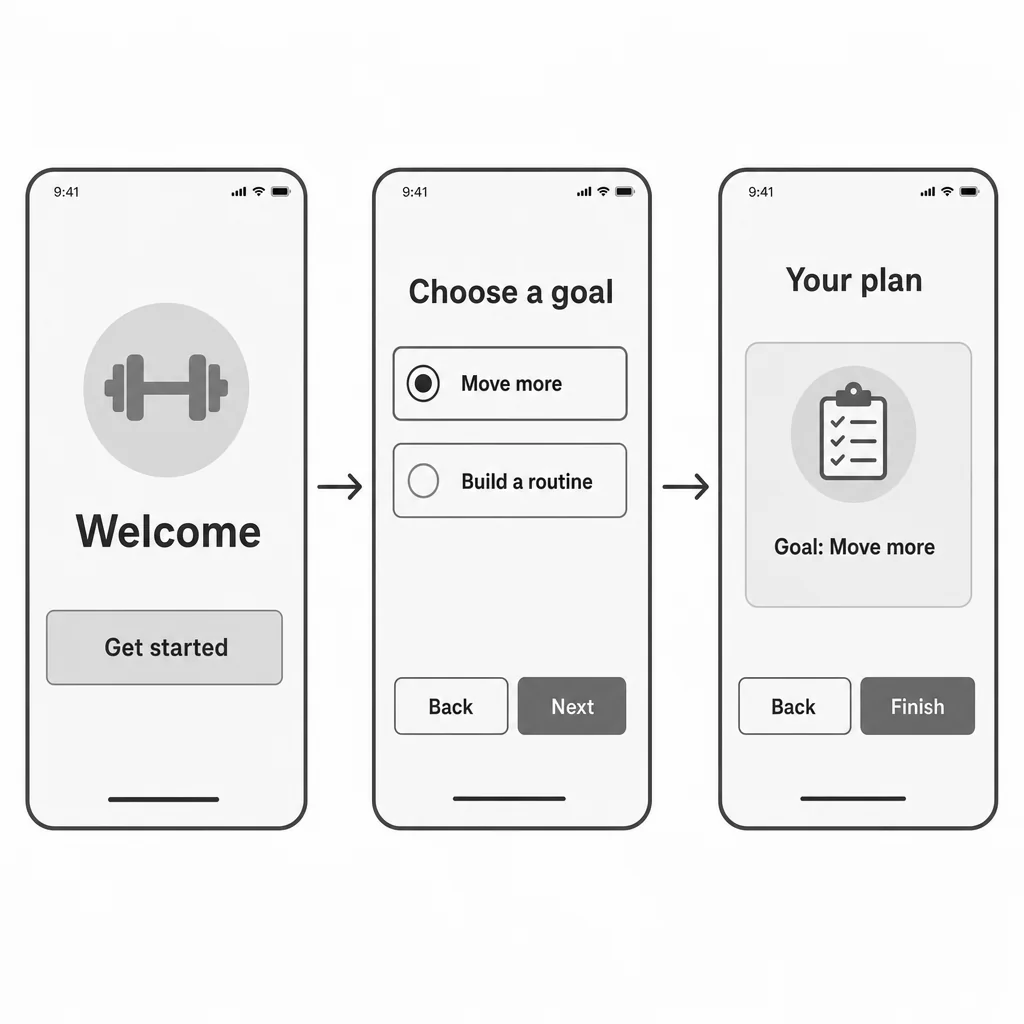
Three fitness screens, exactly two rightward arrows, selected Move more radio, correct plan and navigation controls all readable.Three drawing screens, two rightward arrows, Shapes selected and Focus: Shapes result; all buttons and requested text readable.Three plant-care screens, two rightward arrows, Fern selected and Plant: Fern result, correct buttons and readable copy.Three recipe screens, two rightward arrows, Weeknight selected and Collection: Weeknight result; exact controls and primary copy readable.Three reading screens, two rightward arrows, Fiction selected and Genre: Fiction result; all required copy and controls clear. Placeholder art is conventional.

Onboarding flow wireframe

Plan your onboarding flow with a low-fidelity wireframe showing screen order, content blocks, controls, and navigation.

  1. Describe
  2. Log in
  3. Create
  • Describe the onboarding flow

    Describe the users, onboarding steps, and key content you want represented in the wireframe.

  • Shape each screen

    Request changes to screen order, content blocks, controls, simple labels, or navigation while keeping the structure low fidelity.

  • Check the user journey

    Review the sequence to spot missing steps and refine controls or navigation that could confuse new users.

UX planning canvas

Map your onboarding experience visually

Turn your onboarding idea into a clear, grayscale screen sequence with labeled blocks, simple controls, and consistent navigation.

Three fitness screens, exactly two rightward arrows, selected Move more radio, correct plan and navigation controls all readable.
Three reading screens, two rightward arrows, Fiction selected and Genre: Fiction result; all required copy and controls clear. Placeholder art is conventional.
Three recipe screens, two rightward arrows, Weeknight selected and Collection: Weeknight result; exact controls and primary copy readable.

Get started

Create a first onboarding flow wireframe, refine that same image, and review the final result.

Step 1

Describe your onboarding flow wireframe

Provide the details for the first image.
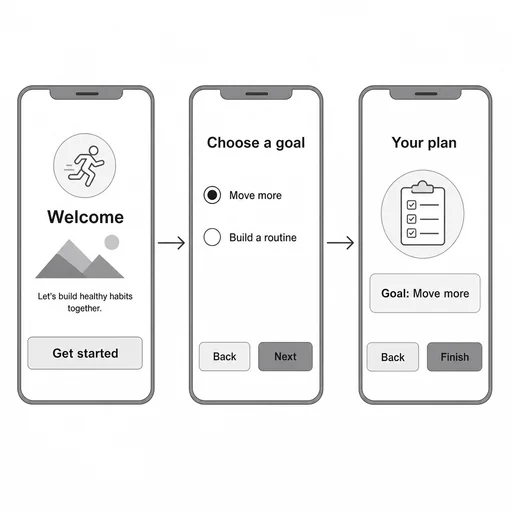
Step 2

Refine the first image

Use the actual first result with this follow-up.
Step 3: Review the refined image.

Step 3

Review the refined image

Compare the final image with your request.